In 2009 Apple introduced a new polycarbonate unibody white MacBook to replace their older white MacBook body style. This new body was a plastic version of the aluminum unibody design earlier introduced in the MacBook Pro line.
 Apart from being white plastic/polycarbonate, it looked more consistent with the MacBook Pro line and also got a one-big-button multi-touch trackpad, similar to the Pro models. It received a single hardware revision in 2010 before being phased out sometime in 2011 and replaced by the lower-cost 10-inch MacBook Air.
This is a great MacBook even in 2014/2015 and will run OS X 10.10 Yosemite just fine – especially if you replace its original hard drive with an SSD and have more than the introductory 2 GB of RAM.
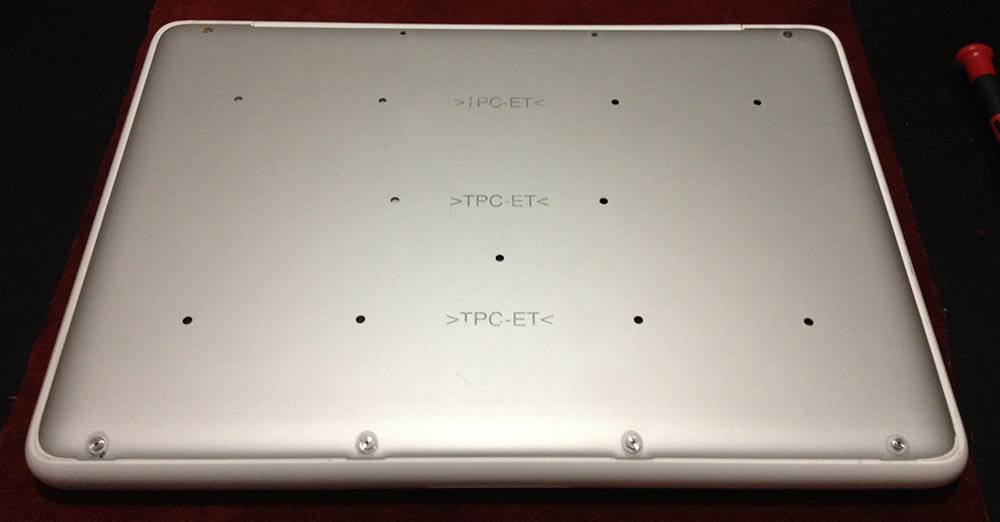
However, the one catch for this MacBook body style is the rubber-covered bottom. I have yet to see one that doesn’t at least have some of the rubber layer being loose around the edges. Often people just tear the rubber layer off completely, leaving a bare steel bottom with holes in it and screw heads that don’t sit flush with the surface.
 To Apple’s credit, somewhere along the line they started offering to replace this bottom piece for free with their MacBook Bottom Case Replacement Program. But it doesn’t seem like many plastic unibody MacBook owners were notified about this. If you own one of these, call Apple. They might still replace your bottom case depending on when your MacBook was originally purchased. But the one I recently bought (USED!) missed the cut-off date by a month or so. Apple said they would sell me the bottom case piece for about $100 – a bit too much for a 5-year-old laptop in my humble opinion.
There are people selling new bottom cases on Amazon and elsewhere for much better prices. I tried to buy one but it never arrived. I am currently awaiting a refund, but the seller is not responding to my messages.
Which is why I had to get creative.
Finding a New Covering for MacBook Bottom Case
Turns out that replacing the faulty rubber covering on your plastic unibody MacBook’s “bottom case” isn’t that difficult. A few months ago I helped a friend buy one of these and I used packing tape to attach a cut-to-fit piece of 5/16-inch-thick masonite to its bottom case. I did pretty clean work and the masonite protected the user’s lap from the high heat generated by the MacBook and the packing tape covered up the screw heads that could get caught on clothes or scrape the finish off of your table top. But it looked … a bit low rent, to say the least.
More recently I purchased another one of these for a family member. That’s where me ordering a new bottom case from Amazon comes into play.
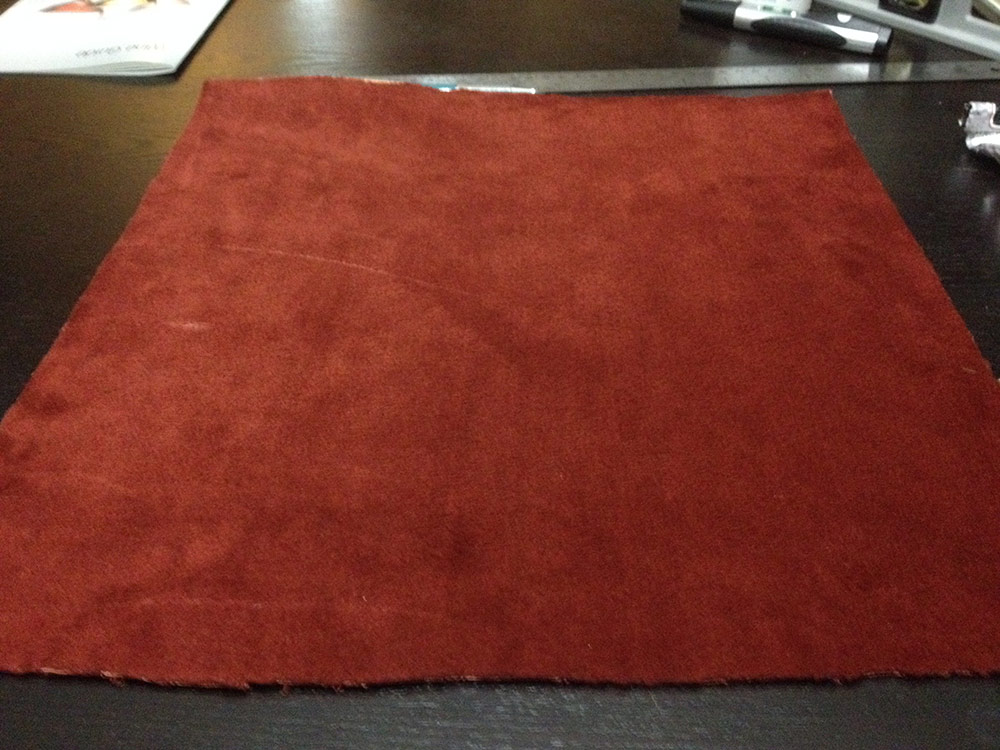
But out of this frustration with a failed purchase and a faulty product design came a brilliant new, better-than-tape-and-masonite solution: use the upholstery off of an old couch as a replacement for the original rubber covering!
I simply cut a piece of upholstery from the dump-destined old couch, bought some E-6000 Craft Adhesive, detached the bottom case from the MacBook and spent way too much time patiently fitting and adhering the upholstery onto the bottom case.
I used a 1/4-inch margin to wrap over the edge of the bottom case, ensuring a nice, rounded edge. With a flat scraper razor I removed the soft, fuzzy threads from that wrap-over margin to make sure the newly-covered bottom case fit as tightly onto the MacBook as possible. Those little screws are not even an 1/8-inch long, so there wasn’t much room for additional spacing.
The final result is thick enough on the outside that the screw heads are now more or less flush with the upholstery material. It also provides a cushioned bottom for the laptop, similar to the original rubber material.


It’s frugal. It’s functional. It looks friggin’ awesome.


